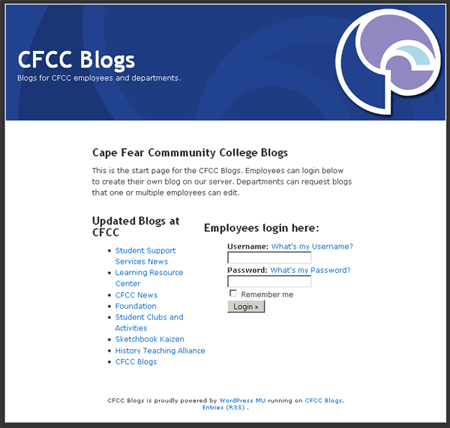
Activating a new blog is simple, users should go to http://cfcc.edu/blogs. This link displays the CFCC Blogs home page and presents a login form asking for a user name and password. Users logging in for the first time should use the same Username and Password they would use to access myCFCC or WebAdvisor.
Once logged in the user will see their WordPress dashboard. Users will also receive a welcoming email in their myCFCC email account. After logging in the user can change the email address from their myCFCC account to their Groupwise email on the general settings page.
The dashboard is the main control panel for the WordPress blog. From here the user can access all of the features and preferences for their blog. The dash board also provides current statistics on the number of posts, pages, tags and categories that are in the blog and informs the user of their current storage space available.
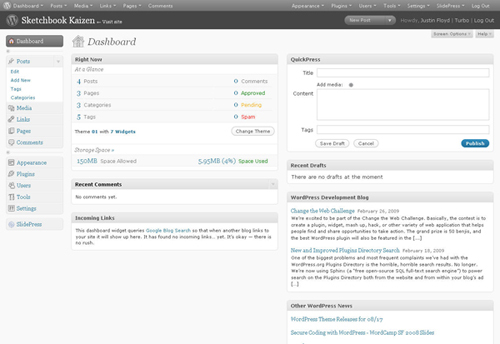
The dashboard will also display recent comments and inform the user if comments are awaiting moderation.
Please note that storage space is limited to 150MB for each blog.
The very first task a user should perform is to change the name of their blog. Upon logging in for the first time the blog uses the username as a default title. The user can change the title by accessing the settings link on their dashboard.
The first editable field on the General Settings page is for the blog title. The user can enter a new title here and then scroll to the bottom of the page to click the “Save Changes” button.
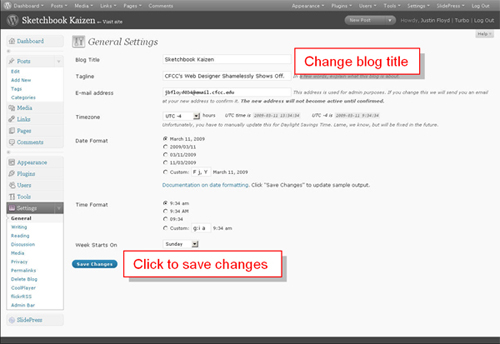
The changes will be saved and the blog will be updated immediately. The user is now ready to begin creating posts for their blog.